 EN
EN


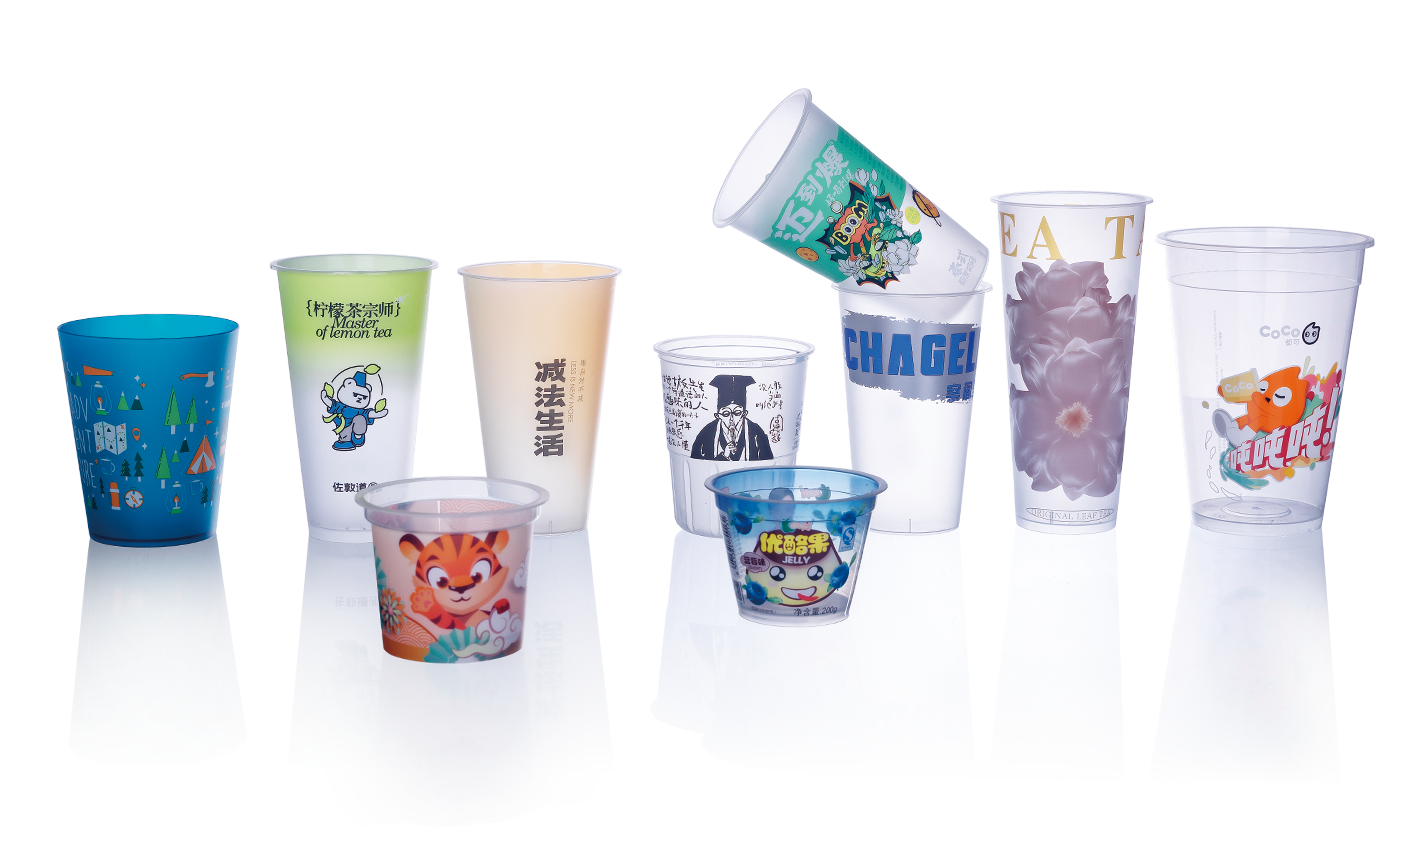
Getting the design right for in-mold labels is one of the most critical steps in producing high-quality, defect-free molded packaging. Unlike pressure-sensitive or heat-applied labels, in-mold labels are fused directly into the container wall during the injection molding process, meaning any design flaw becomes a permanent part of the finished product. Understanding what can go wrong — and how to prevent it — before production begins is essential for manufacturers, brand owners, and packaging engineers alike.
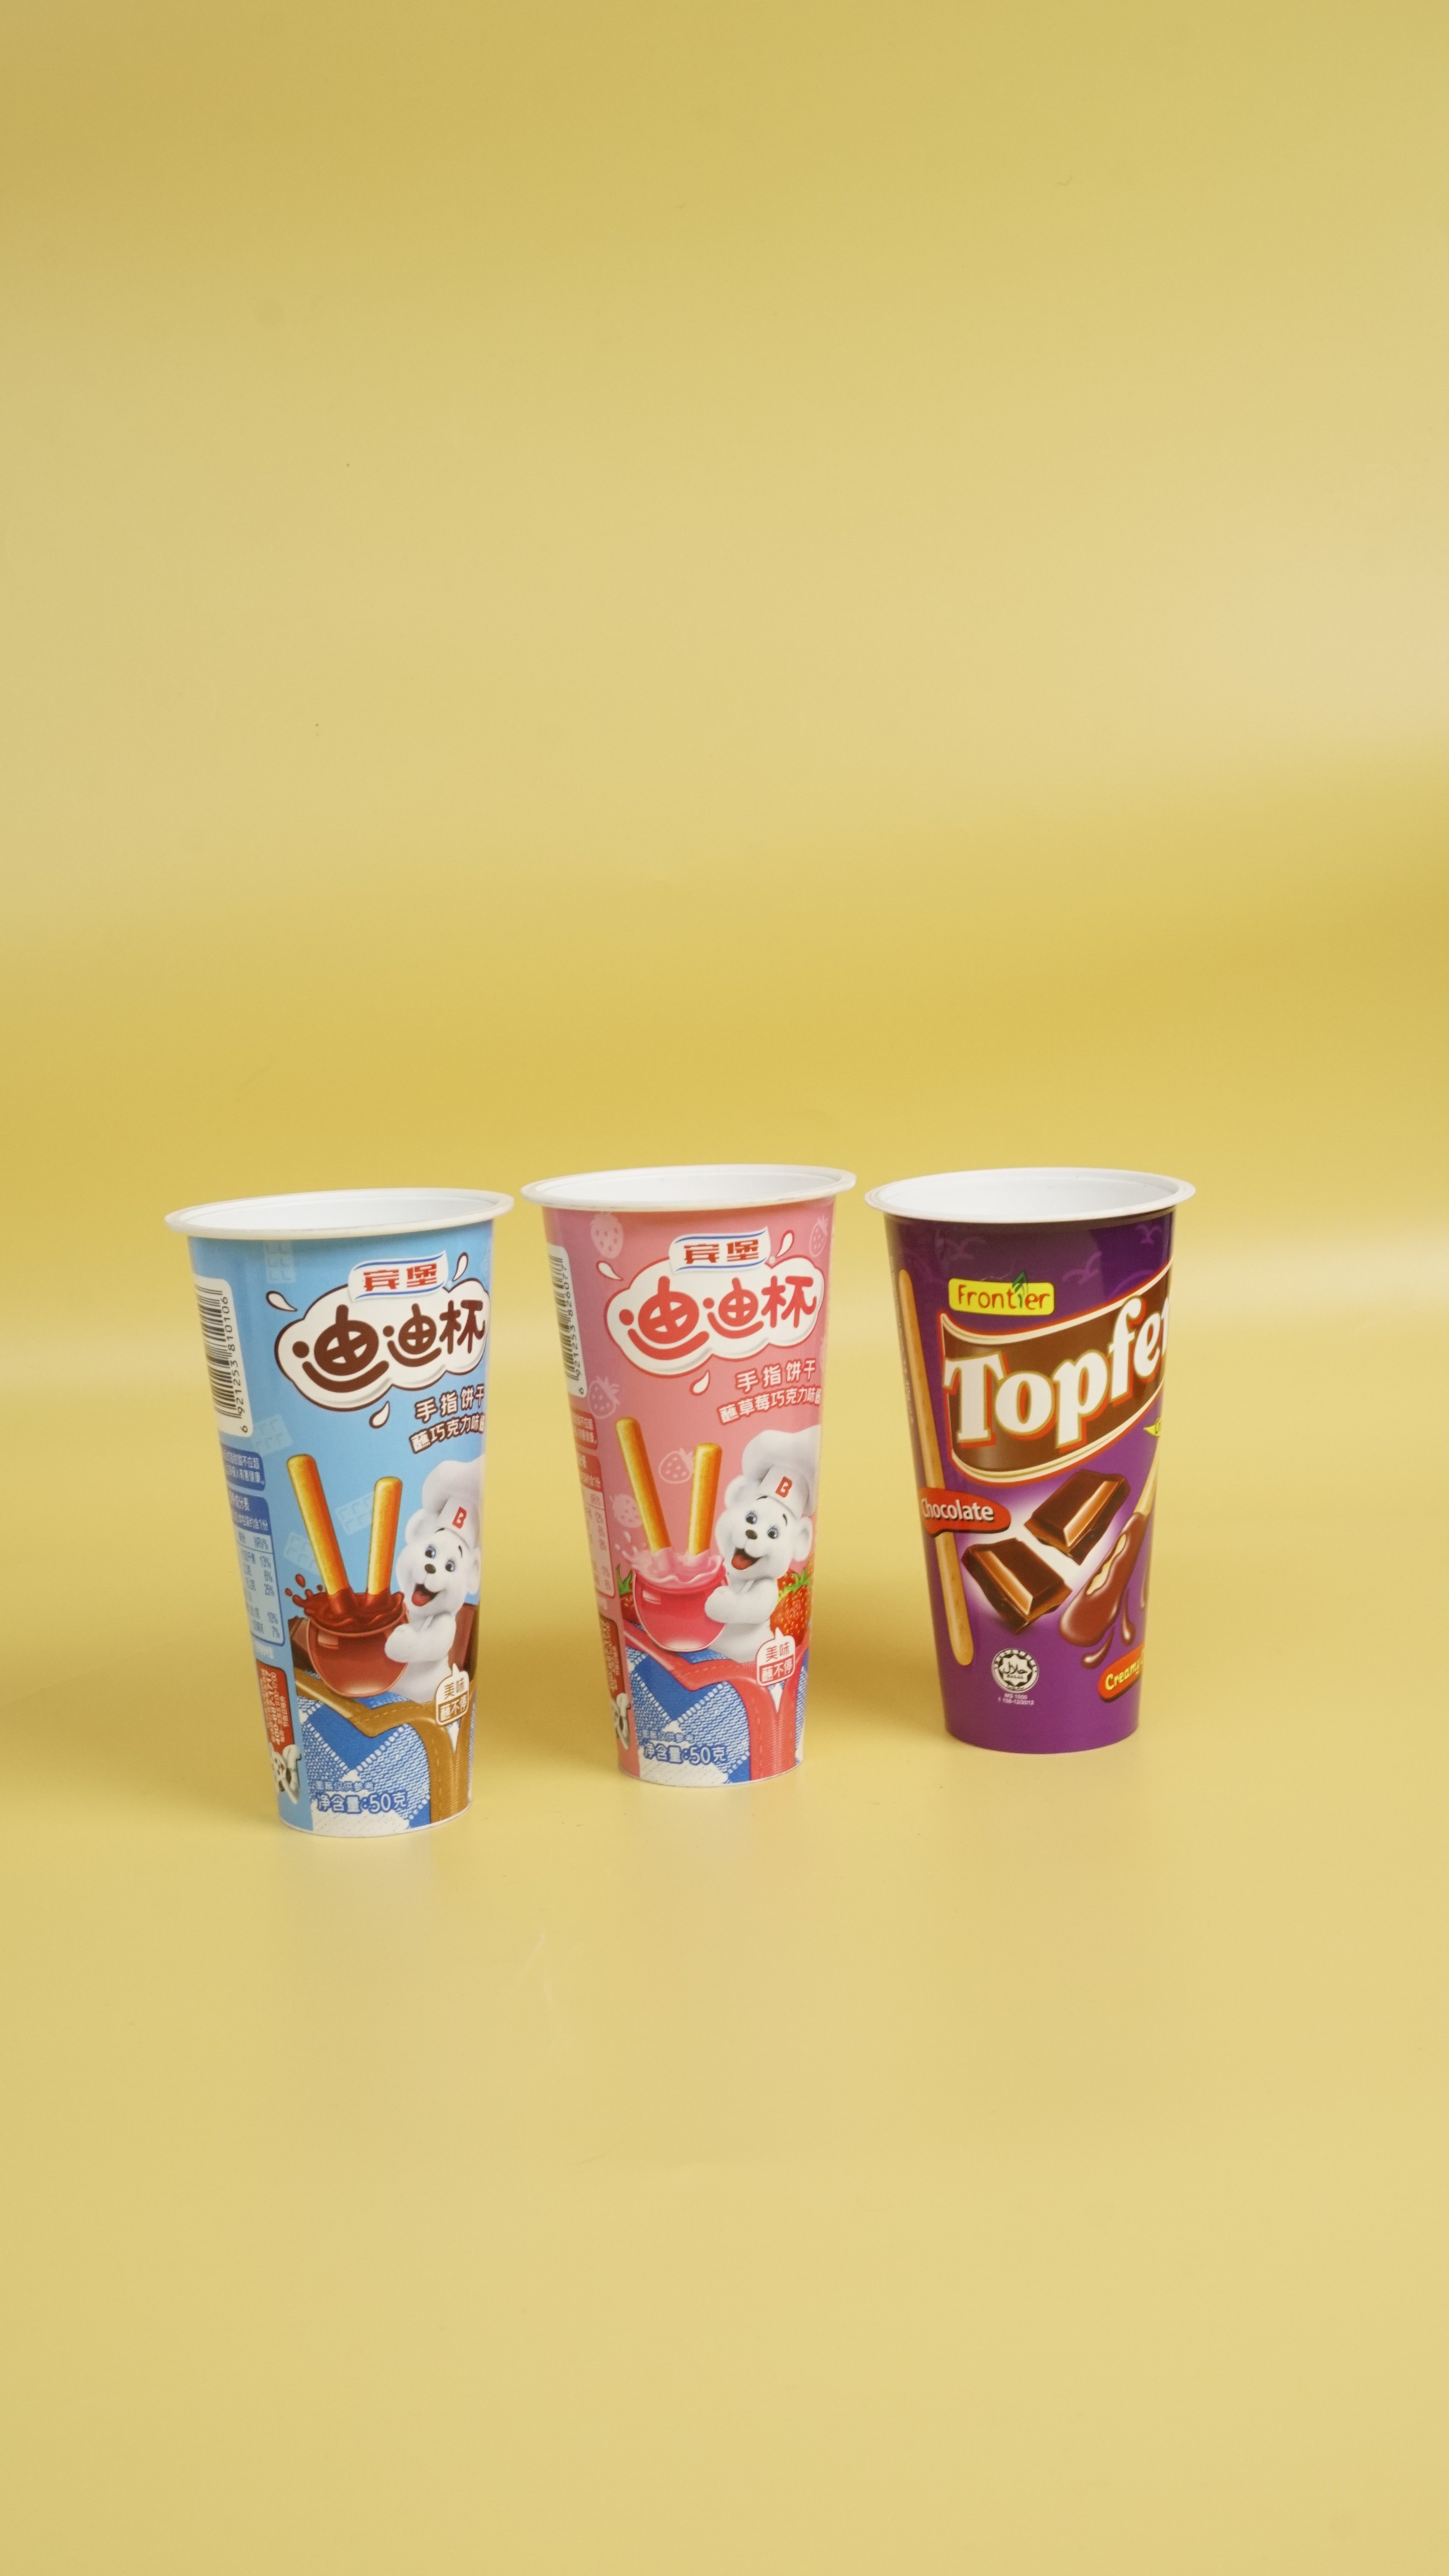
In-mold labels offer compelling advantages — seamless aesthetics, scratch resistance, and enhanced shelf appeal — but only when the label is engineered with the molding process firmly in mind. This article walks through five key design considerations that help teams avoid the most common and costly production mistakes associated with in-mold labels, from substrate selection to print registration and static control.
Substrate Selection and Compatibility
Matching Label Material to Resin Type
The foundation of well-performing in-mold labels is choosing a substrate that is chemically compatible with the container resin. Polypropylene-based in-mold labels are the most widely used because PP containers dominate food, beverage, and personal care packaging. When the label substrate and container resin share similar melt temperatures and surface energies, bonding is reliable and consistent. Using an incompatible substrate leads to delamination, bubbling, or poor adhesion — defects that are impossible to correct after molding.
For in-mold labels applied to injection-molded PP cups, the label film must exhibit similar thermal behavior to the container. A mismatch in shrink rates between the in-mold labels and the resin can cause the label to wrinkle, shift, or pull away from the mold surface during cooling. Always validate substrate compatibility through thermal analysis before committing to a full production run of in-mold labels.
Thickness and Stiffness Considerations
Label thickness directly affects how in-mold labels behave inside the mold cavity. Labels that are too thin may not hold their position under the force of injected resin, while labels that are too thick can create sink marks or uneven wall thickness in the finished container. Most in-mold labels for injection molding applications range between 60 and 100 microns, though the optimal range depends on container geometry and shot pressure. Working with the mold designer early ensures that label gauge is factored into the overall tool specification.
Print and Artwork Design Accuracy
Registration Tolerances and Safe Zones
Print registration is one of the most technically demanding aspects of in-mold labels. Because in-mold labels are placed in the mold by robotic arms or manual handling, even a slight positional shift during placement can cause logos, text, or color blocks to appear misaligned on the final container. Artwork files for in-mold labels should include clearly defined safe zones — typically a minimum of 3 mm from any cut edge — to prevent critical graphics from sitting too close to the seam or base of the container.
Designers working on in-mold labels must also account for the three-dimensional distortion that occurs when a flat printed label conforms to a curved container surface. What looks perfectly centered in a flat artwork layout may appear shifted once the in-mold labels wrap around a tapered or round container. Artwork should be pre-distorted to compensate for this effect, a process sometimes called 'artwork mapping' or 'label contouring.'
Ink and Coating Compatibility with Molding Temperatures
Standard printing inks and coatings are not always suitable for in-mold labels. During injection molding, mold temperatures for PP containers typically range between 20°C and 60°C, while the injected resin arrives at temperatures exceeding 200°C. Inks and varnishes used on in-mold labels must withstand this thermal shock without bleeding, cracking, or color shifting. Solvent-based or UV-cured inks specifically formulated for in-mold labels are generally preferred over water-based alternatives in high-temperature applications.
Mold Positioning and Static Management
Consistent Label Placement in the Mold Cavity
Accurate and repeatable positioning of in-mold labels inside the mold cavity is non-negotiable for consistent quality. In-mold labels are held in place primarily by vacuum ports built into the mold tool. If the vacuum channel layout does not match the shape and size of the in-mold labels, the label may flutter, fold, or reposition itself as resin is injected. Mold designers should receive final die-cut specifications for in-mold labels early in the tool design phase so vacuum port placement can be optimized accordingly.
For high-speed production, robotic pick-and-place systems are used to insert in-mold labels into the mold cavity between cycles. The consistency of this automated handling depends heavily on the dimensional accuracy and stack behavior of the in-mold labels. Labels that are poorly cut, unevenly stacked, or that stick together due to static will cause placement errors, cycle interruptions, and wasted material. Quality control during label manufacturing is therefore as important as design quality for successful in-mold labels production.
Static Electricity and Its Effect on In-Mold Labels
Static buildup is one of the most underestimated challenges in working with in-mold labels. PP film substrates are naturally prone to static charge, which causes in-mold labels to cling to each other, attract dust particles, and resist consistent robotic pick-up. Contamination from airborne particles trapped between the in-mold labels and the mold surface creates visible inclusions or voids in the finished container. Anti-static treatments applied to in-mold labels during converting — combined with ionized air systems in the molding cell — significantly reduce static-related defects.
FAQ
What causes bubbling or blistering in in-mold labels after molding?
Bubbling in in-mold labels is most often caused by trapped air or moisture between the label and the mold surface. This occurs when the label substrate is not flat against the cavity wall, when vacuum ports are insufficient, or when the label film has absorbed moisture during storage. Ensuring that in-mold labels are stored in controlled-humidity conditions and that mold vacuum systems are properly maintained can prevent this defect.
How do I choose the right film for in-mold labels on PP containers?
For in-mold labels applied to polypropylene containers, a biaxially oriented polypropylene film or a voided cavitated PP film is typically the best choice. These films offer density and stiffness characteristics that support smooth robotic handling, good vacuum retention in the mold, and strong fusion bonding with the PP container wall. Always confirm that the film supplier has validated their material specifically for use with in-mold labels in injection molding environments.
Can in-mold labels be used for containers with complex shapes?
Yes, in-mold labels can be designed for containers with tapered walls, curved bases, and multi-panel geometries, but the complexity of the shape increases the design and tooling requirements. Artwork must be carefully contoured, die-cut shapes must be precisely engineered, and mold vacuum systems must be mapped to match the label geometry. With proper preparation, in-mold labels deliver excellent coverage and aesthetics even on technically demanding container shapes.